Home Decor Thrift Flips
/Fruit Basket (Macrame)
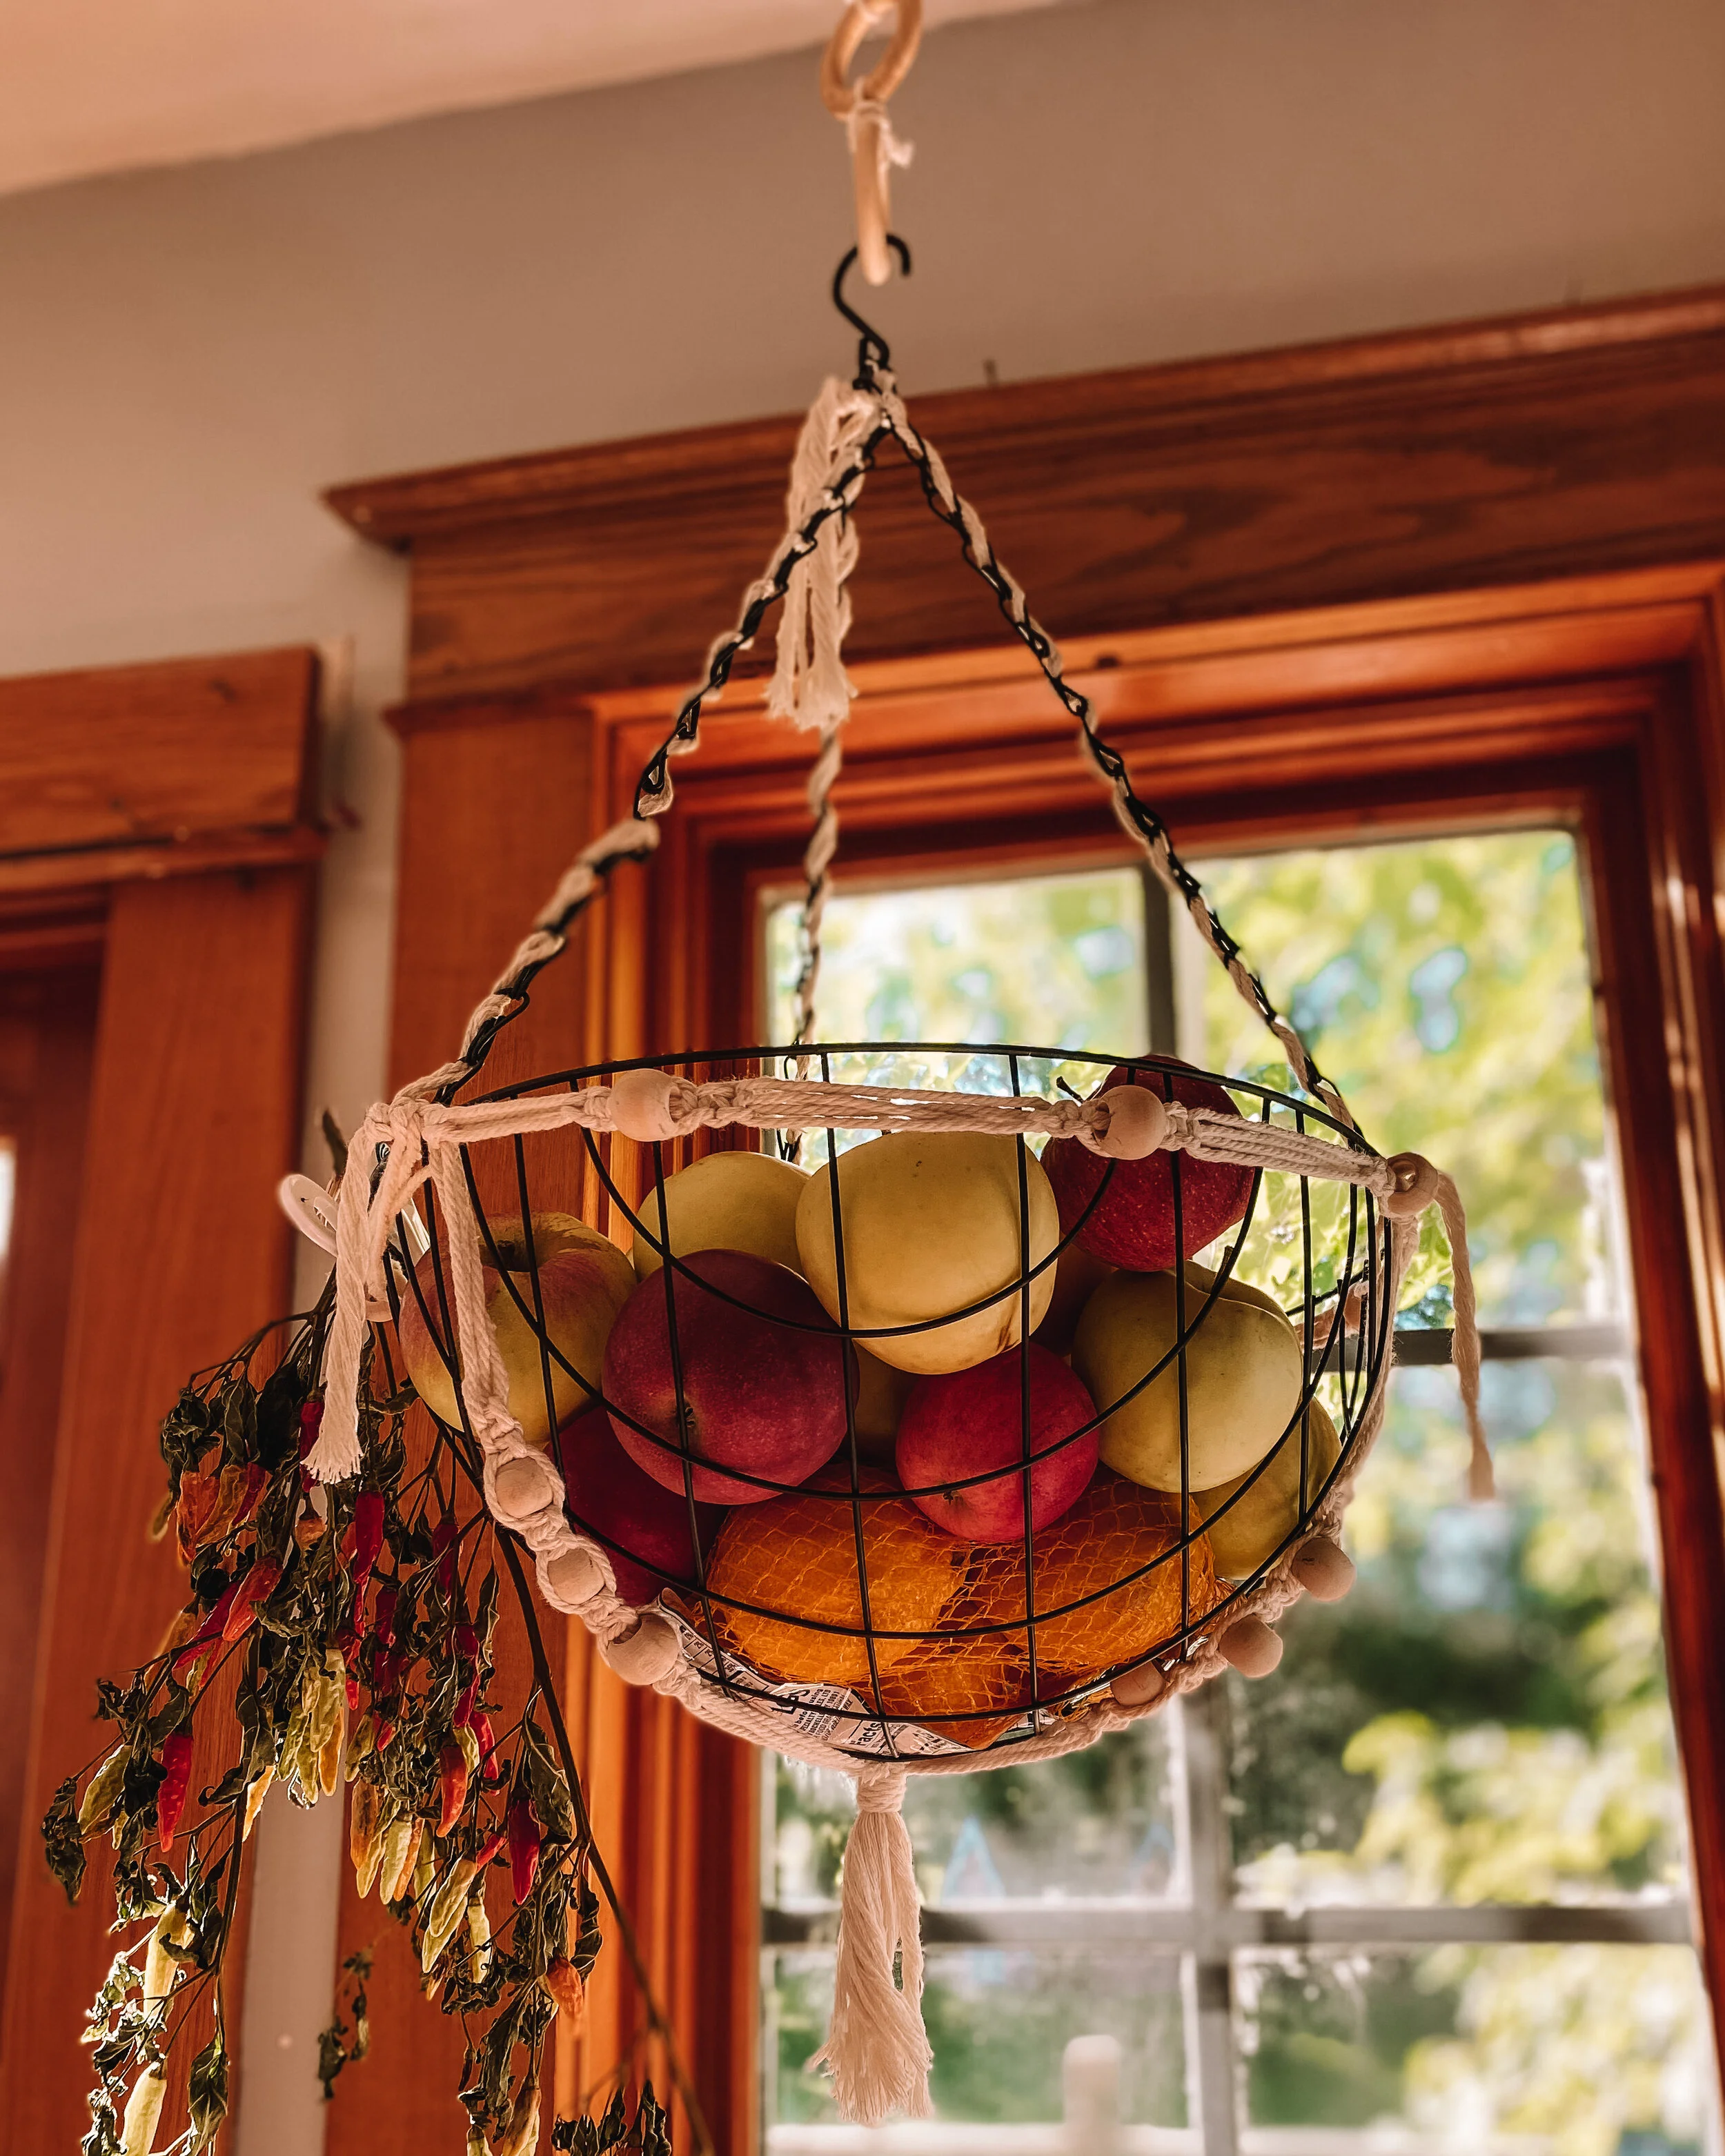
This project took a little while for the idea to come to fruition. I was thrifting one day and came across a simple, wire hanging plant basket that was green. It was a great price and something just told me I shouldn’t pass it up. It sat around for a little while in my studio until I was thinking about how I desperately needed a bigger fruit basket that wouldn’t take up a lot of counter space. I had just seen a video on macrame and decided why not give it a shot! I ordered this set of wooden beads and loops plus a roll of macrame cord from Amazon. While I waited for those to arrive in the mail, I used this flat black spray paint to cover the bright green color. Once it was dried, I cut 16 very long cords of macrame cord, searched how to make a square knot, and made up my own knotting pattern, periodically adding wooden beads. I attached the wooden loops together to make the basket longer and attached it to a hook I already had in my kitchen. The thing I love about this project is that there are a ton of ways you could make this!
Terra Cotta Candles (Spray Paint and candle making)
I always find short, wide, glass, circular vases at the thrift store for super cheap. One day I picked two up for $1 each and decided it was time to try making my own candles. Instead of trying to master candle making, I simply went to the clearance section of Homegoods and purchased 2 candles about the same size as my vases (so that it would fill nicely) that I liked the smell of. The design of the candle doesn’t matter since you will be ‘rehoming’ the wax. The day before repotting my candles, I used this AMAZING terra cotta spray paint and added about 3 thin layers of spray paint on each vase. It’s important to note that before you spray paint anything glossy or glass, it’s important to make sure you clean it off really well with soap or alcohol. If you do thick of a layer it will start clumping or dripping because it is a textured spray paint. You want to make sure everything is covered well. If you are going for a true terra cotta dupe you’ll want to make sure that you do a good amount of coats. As you can see below, I thought it was covered, but it was still a bit transparent when it was dry. I don’t mind this for a candle however because some of the light shines through. After I was done painting, I let them dry overnight.
The next day, I got a big soup pot and filled it about half way with water (making sure it was a couple inches below the top of my candles), let the water come to an almost boil, and put the candles in. I let them melt for about 45 minutes, checking on them every 10 minutes or so. While they were melting, I hot glued the new wicks I purchased onto the bottom of each vessel. Depending on the size of your new vessel, you might have to do multiple (as you can see I did three). Once they are melted you can take them out (I pulled the wicks out to make them easier to pour) and gently using potholders (the candles will be hot), I poured them into the newly wicked candle vases. Once the wax was in, I used some chopsticks to wrap the excess candle wicks around so they would stay standing up as the candle wax hardened.
Coasters (spray paint)
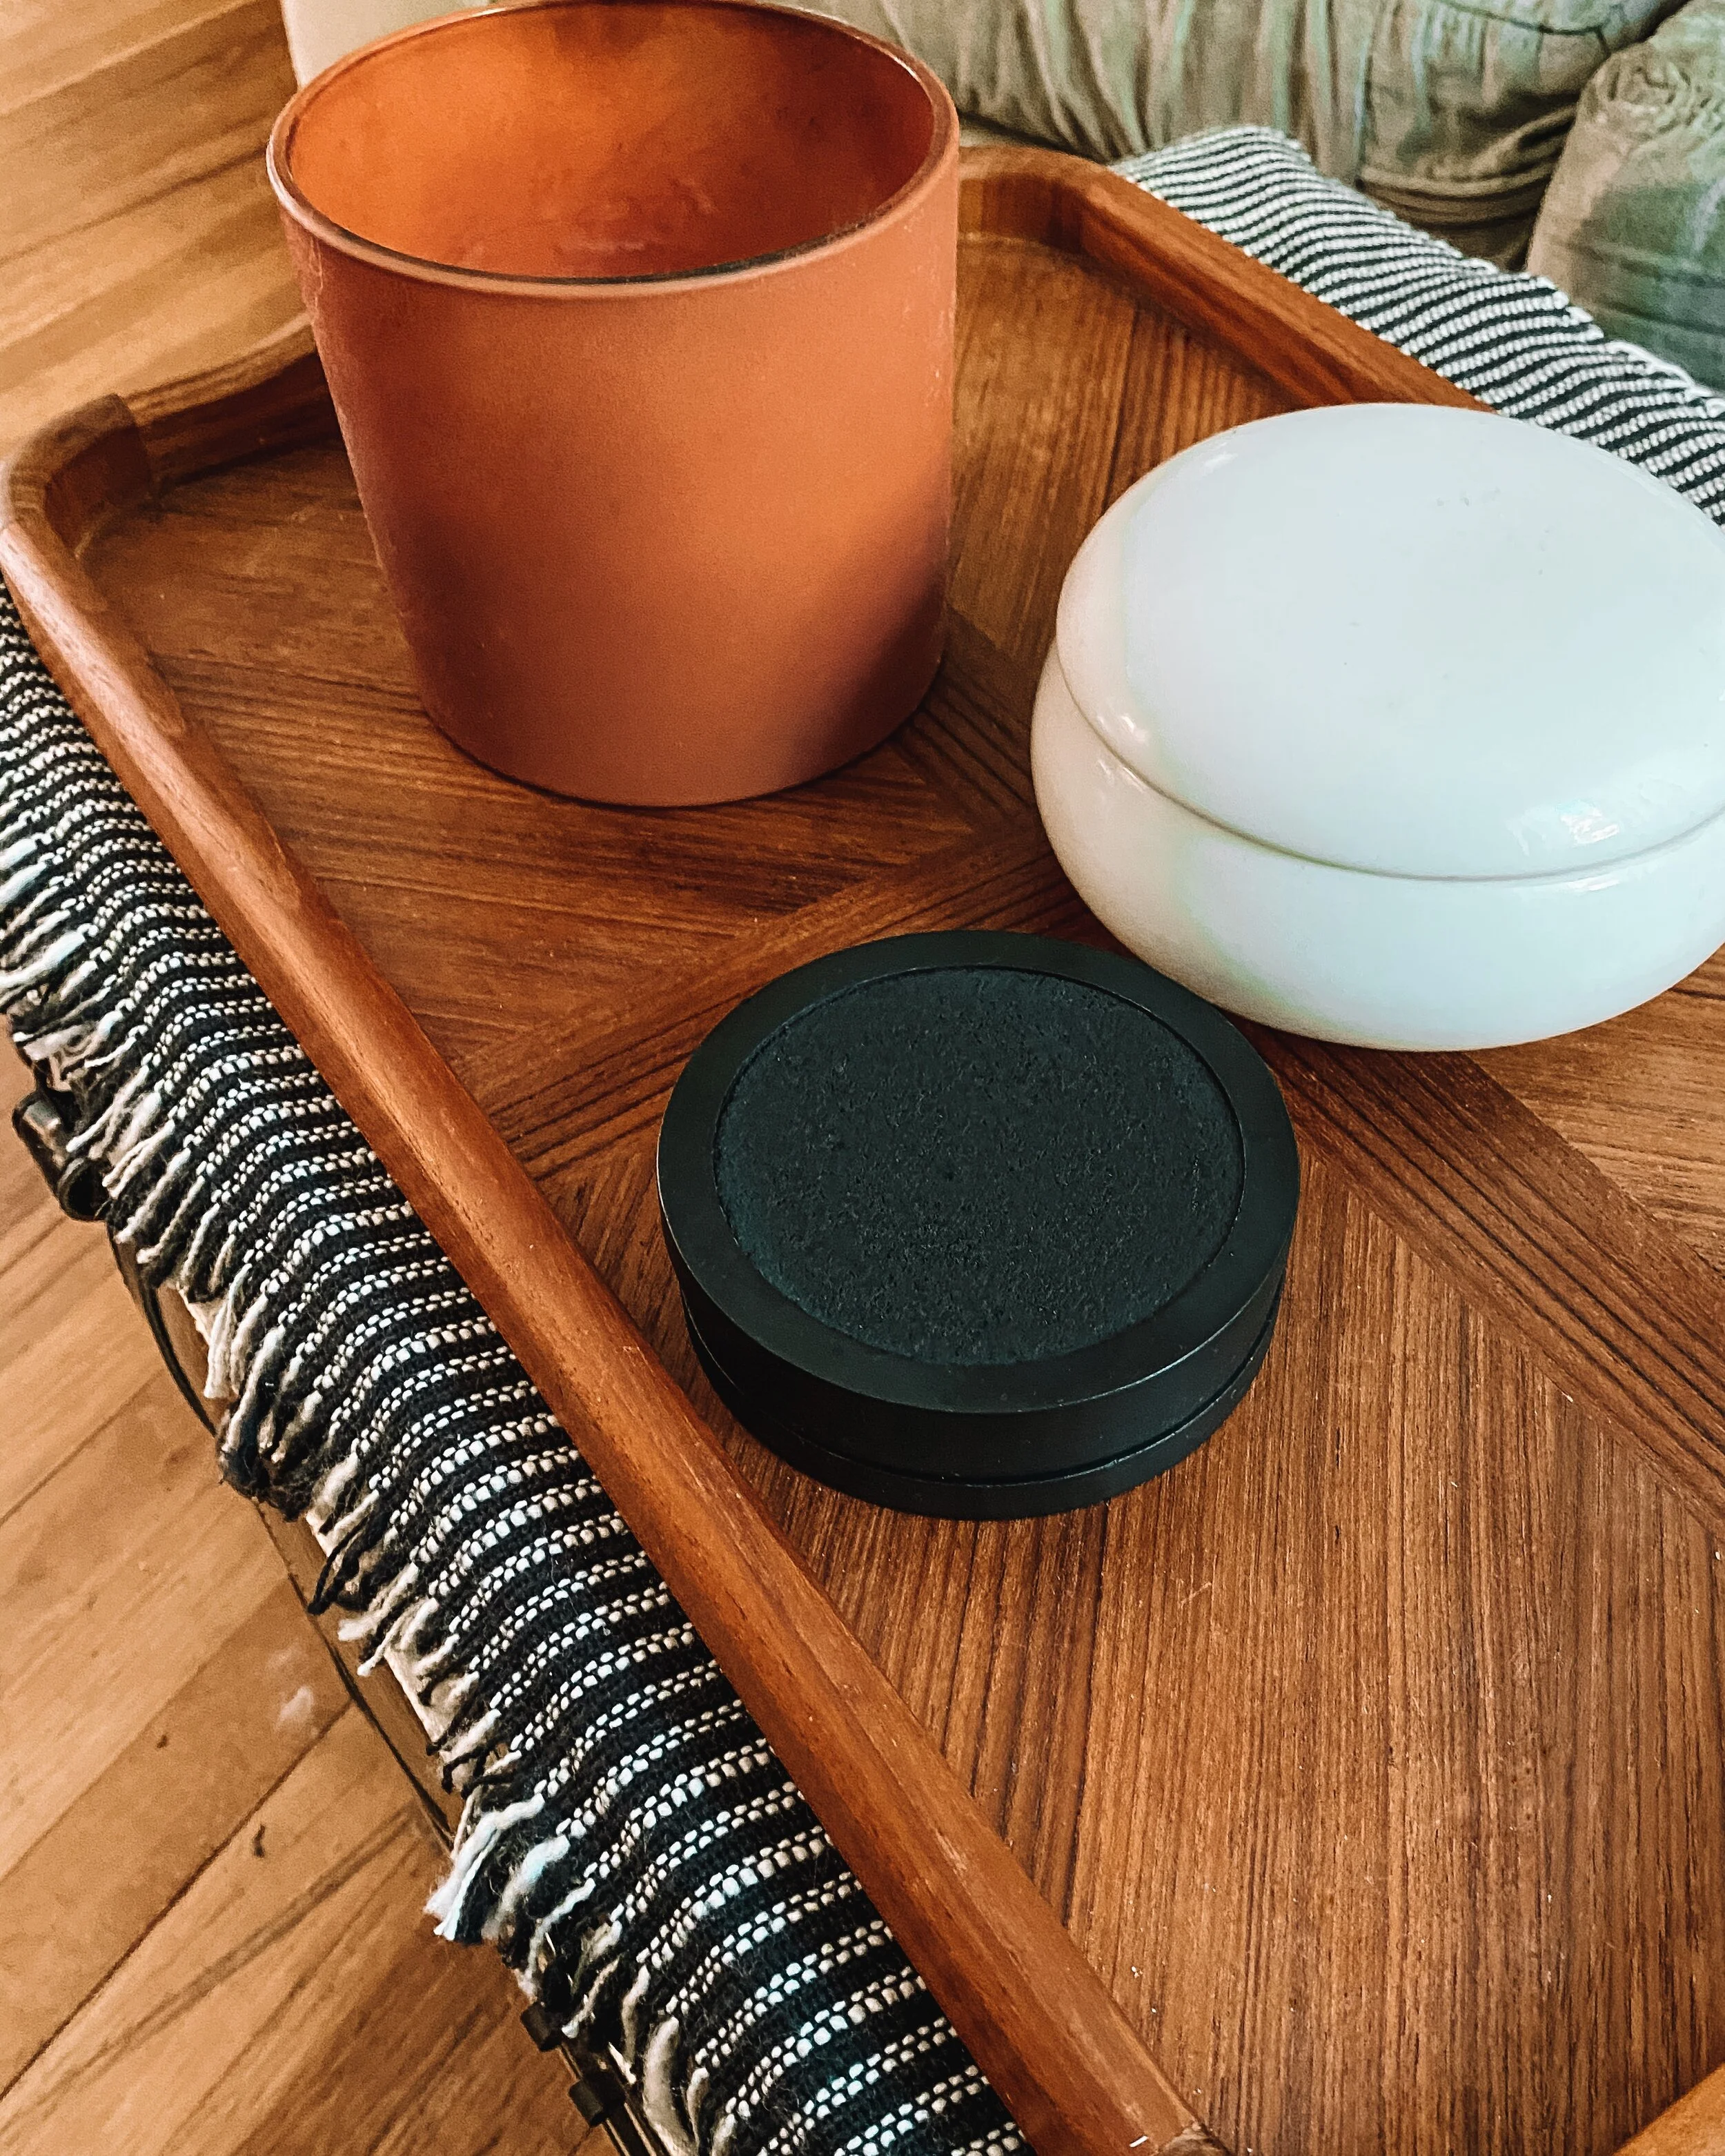
These were easy and left me amazed as always, at how easily a coat of spray paint can change a thrifted item. Using the same flat black spray paint, I sprayed both sides of these wooden coasters and now I have beautiful matte black coasters that match my living room decor so well.
Lamp (Painted base)
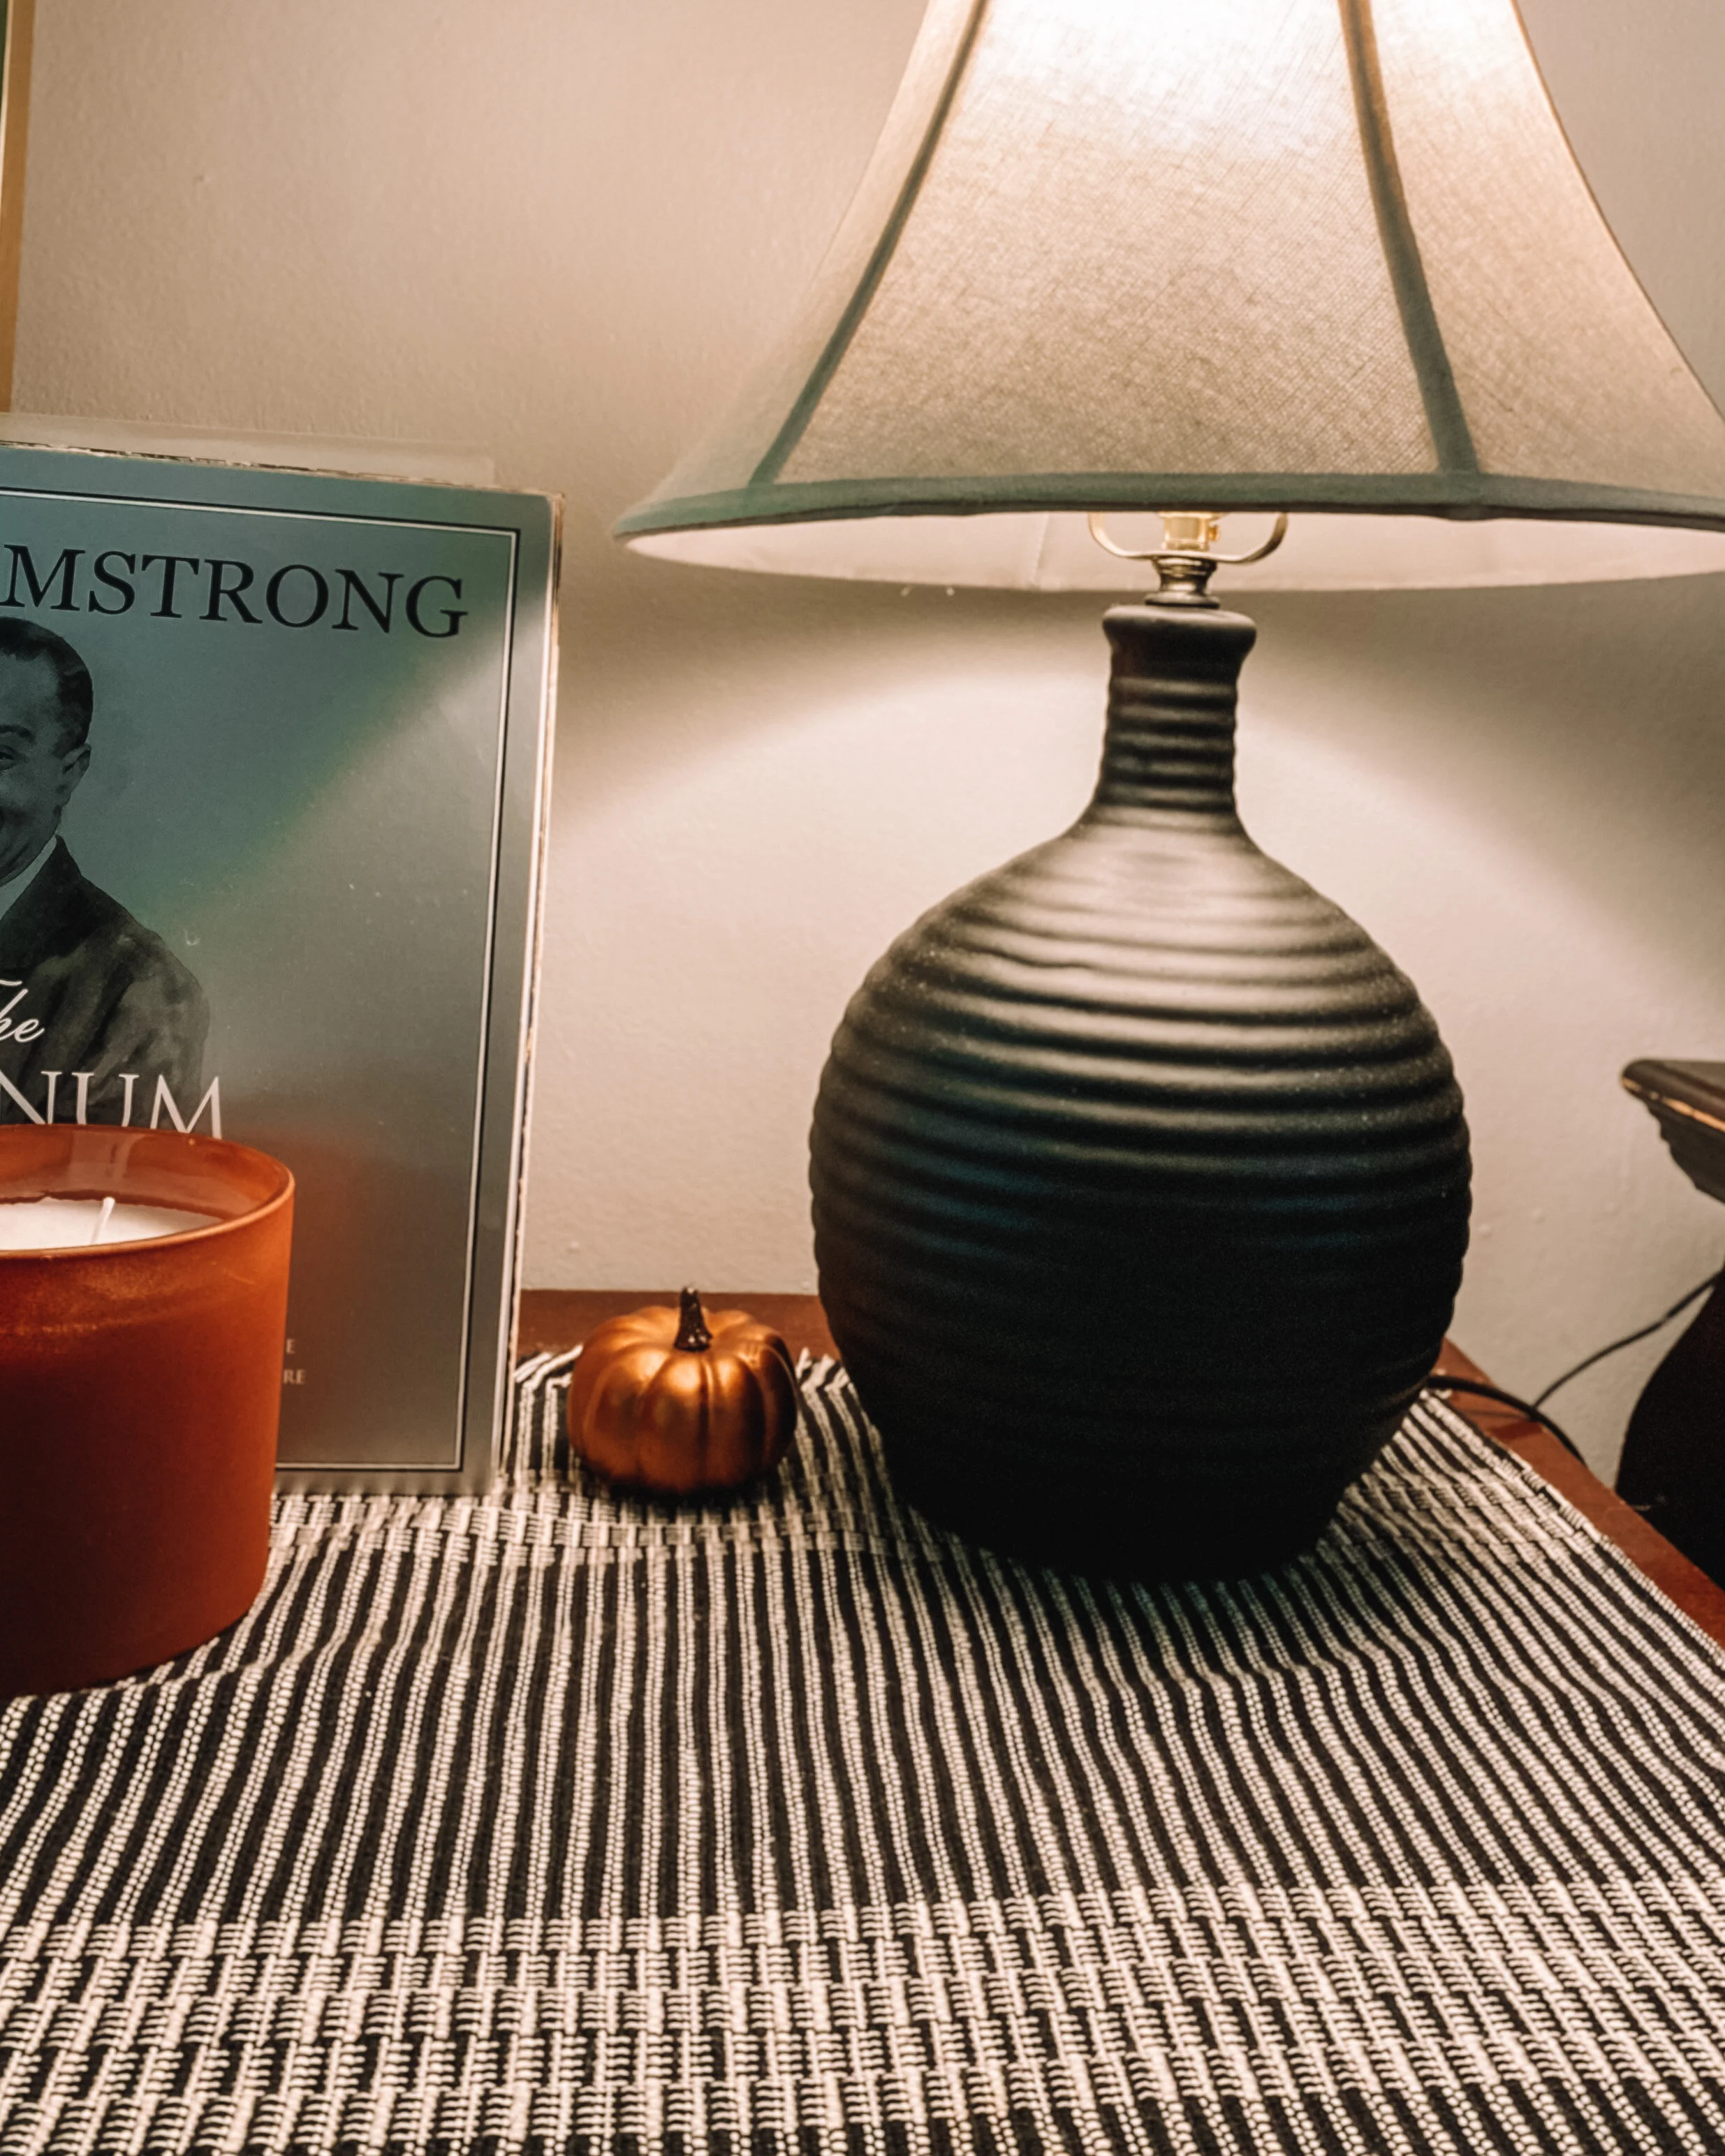
Another quick flat matte spray paint save, I found this lamp and actually hated the shade when the base was it’s original, glossy brick red color. I figured I’d spray paint it and get a new shade, but I found that once I sprayed it, I actually liked the shade with the base. When looking for items that are easy to spray paint, try your best to look at textures and shape and NOT the color!
Terra Cotta Hurricane Candle Holder
My last spray paint thrift flip, I had this huge clear glass hurricane glass vase laying around for years, not knowing what to use it for. I decided to try the Terra Cotta spray paint, fill it with coffee beans, and use it as a way to turn a candle into a statement piece for fall. I love that when the candle warms, it makes the coffee beans smell stronger. I’m excited to use this piece from season to season, changing up what’s inside for different holidays!
Which thrift flip is your favorite? Have you been inspired to spray paint something?! haha Let me know in the comments below.
Sending you cozy vibes,
Andrea


