July Favorites

I'm back with favorites and I'm excited to share the ones I have this month. I polled you guys over on Instagram and while a lot of you like the video format from last month, most of you prefer the written format, so I'll probably return to this format and film a YouTube favorites video every so often. 

This month is short but sweet, but I hope you enjoy it.

The only skincare product that is new to me recently is this Green Apple Brightening Gel Cleanser by Juice Beauty.  When I went through my skincare product detoxification, my cleanser rated so high on Think Dirty. This one is a ZERO and I love it. I feel like I've hit the jackpot. It's loaded with antioxidants which is really important in protecting your skin. The brightening is due to the citric (lemon) and malic (apple) acids! I love how this has left my skin feeling cleansed well (coconut oils) and brightened. I highly recommend it if you are someone who struggles with an uneven skin tone.

Every spring/summer I seem to revisit my lipstick collection and pick out lipsticks that I forgot about. This one from Maybelline (Shade 945: "Stormy Sahara" is one I realized that I've never talked about but is a classic shade from them. If you're a light/medium skin tone and looking for a good rosy/nude check this one out. 

This next favorite is also a lip product but on the higher end. Back in the spring when I did a Sephora and Ulta haul I mentioned this NARS Power Matte Lip Pigment in 'Walk This Way'. I am so amazed by the formula of these. They feel like water going on, but are packed with pigment and go on so easily. They dry down to being virtually undetectable and wear so nicely on the lips. I love this shade too, because it's just enough of a pop of color to be noticeable but isn't obnoxious and bright. 

My last beauty favorite is a nail polish that has been the only thing on my toes for the past year. The color looks especially great in the summer. I'm not sure if you can still get it anywhere besides this website I found, but the Essie Metallics Collections in 'Nothing Else Metals" is the best shade. It's a silver/lavender shade that looks so great on toes. It matches everything and really looks great with a tan in the summer. 

A food favorite for the month is one that I tried a long time ago. I can't remember where I tried this brand for the first time, but when I went on Amazon to buy them I ended up getting this variety pack that was AMAZING! These bars are free of the top allergies; peanut, dairy, gluten, tree nut, soy, egg, fish, shellfish, & sesame. While I try to stay away from processed snacks, these are relatively clean and I like them every once in a while especially now that I'm gluten free. The Chocolate Chip crispy squares and Strawberry granola minis were definitely my two favorites, but I really enjoyed all the flavors. 

So those are my favorites from the month of July! I told you they were going to be short and sweet! What have you been loving? Leave a comment below and let me know.

Have a great August,

Andrea

Disclosure: Amazon links are Amazon Affiliate links meaning that I make a commission off the purchase of the product through my link. I would never recommend a product that I didn't love and all opinions are my own. I am thankful for you choosing to purchase through my links, as it helps me create more content for Andrea Fontana Beauty.

How to Pickle Onions

This recipe was highly requested over on my Instagram because it seems I'm always showing or mentioning pickled red onions in my food posts. I'm just obsessed with them. They make many dishes look prettier and taste better! If I don't know what I'm making for dinner at night, you can often find me standing with the fridge open, pickled onion jar in my hand, snacking as I scan the fridge for ingredients and ideas for that night. If you don't follow my Instagram yet, go check it out! It's where I talk about food the most and share tons of tips

IMG_4848.JPG

To make pickled onions you will need the following:

1 large red onion  (I like to use red, but you can use others)
1 cup of white vinegar
minced garlic
black peppercorns
3 TB white sugar
1.5 TB salt
Storage jar like a mason jar

1. First add your vinegar, salt, sugar and peppercorns to a small saucepan and mix to dissolve the sugar and salt. Put the lid on the pan and bring to a boil over just slightly higher than medium heat.

2. While waiting for mixture to boil, slice your onion into really thin rings. I like to put them in a big bowl and mix a few teaspoons of minced garlic into them. 

3. When mixture comes to a boil, pour it evenly over the onion & garlic mixture and mix it well. I like to put the lid from my pan over the onions in the bowl to trap the heat in there so they don't cool as quickly. If your liquid doesn't quite cover all of your onions (this can depend on what size of bowl you use), mix the onions in the liquid mixture every 15ish minutes. 

4. Let the onions cool and place in the mason jar making sure to pour the pickling liquid in with the onions to cover them. You can really squeeze them in there, I promise! Store in the fridge for up to 4 weeks. (Mine never last this long...haha)

5. ENJOY! These are great on tacos, burrito bowls, sushi bowls, scrambled eggs, and more! The possibilities are endless. 

Leave a comment below letting me know what your favorite thing to pickle is!!

Have a great day,

Andrea

Tips for Practicing REAL Self Care

I realized recently that I haven't shared a topic on here that I talk about a lot in my non-blog life. I am just going to come out and say that I hate the phrase 'Self Care'. It's not so much the term that I hate but the trend that it has become in today's world. Stay with me. I think that taking time to yourself is crucial, but let me explain why I feel this way.

I find that the phrase 'self care' has become a trendy word for procrastination and a gold mine for the marketing of products to us. 'Practice self care and buy this bath bomb...you deserve it.' I know you've seen these campaigns and messages and frankly it frustrates the crap out of me. Taking a bubble bath is really great but if you have several things that you need to get done that night, a bubble bath can wait until tomorrow. However, if labeled as a 'self care' moment, it's fine to push off your priorities. 

If we are so stressed that we need to take a break and pause for a minute to take a bubble bath, I believe true self care is figuring out what is causing these moments of burning out and readjusting your life so it doesn't keep happening. It's crazy to keep doing the same things and expecting life to get easier if we don't self reflect and make some changes. There are no products that are going to fix the unbalanced life we are living, so today I'm offering you some tips to truly practice REAL self care and dig deeper into the stress of our lives. Use self care to really change your lifestyle so you can set yourself up for success and reduce stress and anxiety. 

Please be sure to comment below with your thoughts on the 'self care' trend and whether you agree or disagree with me.

6 questions to ask yourself to practice REAL self care:

1. What is one area of my house that I can tidy to relieve some anxiety? I am a huge believer in the idea that if your environment is messy, you will feel more anxious. Is there one space that you look at day in and day out, that could be tidier? Spend some time tackling it and I guarantee it will make your home more pleasant. 

2. What is the one thing on my To-Do list that would relieve some stress if I just did it? We all have those things on our lists that are either tedious tasks or simply no fun, but need to get done. Recognize this task as being annoying and just do it. Think about how relieved you will feel when it's done and carry that thought with you through the process to motivate you to complete it.

3. What is one thing that I don't want to think about right now but need to? This could be in many different categories of life. Sometimes we push things off or put them on the back burner because we don't want to think about them, but acknowledging them can take a huge weight off our chests. Debt is a great example of this. If you have no idea how much you owe in student loans, car loans, etc....ADD IT UP! The scariest part is looking at that total number, but once you do it, you can create a plan to get rid of it. 

4. How would I feel if I didn't let these anxious thoughts affect me? Sometimes we need to practice self care because we can't get out of our own heads. Trust me, I'm right there with you. But if we take a moment to think about how we would feel if we didn't let the stress and anxiety affect us, we give the anxiety less power and it's easier to think through it. Really try to think about the actual emotions you could be feeling instead.

5. Who can I call to just listen to me work through this stress and anxiety? Something that is really helpful for me to do is to talk to a close friend about whatever is bothering me. Venting in a sense and getting it all out, can be all we really need to feeling better. Sometimes it's helpful to hear someone say yes this is stressful and it's okay to feel this way. For me however, I like doing this because often it's helpful to have my best friend say what's the worst that could happen. 

6. Do I have a habit that I don't like and what can I do to stop it? Sometimes we don't realize the habits that we have created unless we measure them. I recommend to friends all the time to track what they spend their time doing and what the pros & cons are for each activity. If you don't like the habits you see, work to get rid of them! If it's a pretty big habit, look for support in your community to break it! 

Overall these questions encourage self reflection which I am HUGE on! I talk about it all the time with people because I believe it is so important to make changes when it's necessary and redirect what we are doing on a daily basis. I hope these questions encourage you to practice REAL self care and change your lifestyle for the better instead of supressing it with another bath bomb.  

Have a beautiful day,

Andrea


How I make Almond Milk/Flour:

This post has been so highly requested and I'm happy to finally write it for you. After doing my elimination diet a few months ago and feeling what it felt like to be eating 100% unprocessed, I was hooked. I've always had the belief that life is about balance in many aspects. I would never want to deprive myself of the foods I love but also think there is an alternative to eating heavily processed treats. I have kind of always operated on the idea that if I can make it myself I'm allowed to eat it.

IMG_4222.JPG

Almond milk isn't necessarily bad for you, but when you buy it in the stores it unfortunately has to have stabilizers and other ingredients that keep it fresh for you to enjoy at home. Making almond milk eliminates all of this processing and tastes SO MUCH BETTER. Plus, since going gluten free I like to have almond meal (aka flour) on hand and it's expensive! Making your own almond milk yields the milk, but also about 1 cup of almond pulp that you can easily turn into meal! This means it's a zero waste process and will save you money, especially if you use almond meal on a regular basis! Today I'm going to take you through how I make my almond milk and turn the pulp into meal!

First let's go over what you will need for this process:
- 1 cup of almonds (I buy mine in a big bag at Costco)
- 7 cups of water
- Vanilla or salt if wanted
- High speed blender or food processor (I use a ninja) --> Here's the one I have and LOVE (Side note: I took FOREVER to decide on a blender and this is the one I went with. I've had it for over a year and use it constantly. I can't recommend it enough if you're looking for a high quality blender but don't want to shell out the money for a Vitamix)
- Glass container to store milk up to 3 or 4 days --> I purchased this one from Amazon
- Nut Milk Bag --> I purchased this Nylon 2-pack from Amazon.

1. You'll need to soak the almonds for at least 4 hours (I usually just do it overnight) in order to soften them and make them easy to blend.

2. Empty the water that the almonds have been soaking in and add the cup of softened almonds, 7 cups of water and a splash of vanilla and sprinkle of salt to the blender. I have made it with no salt and vanilla and it was great too! Choice is up to you. If you're used to unsweetened original almond milk, leave it out!

3. Blend for 2 minutes on a high speed.

4. Pour your blended mixture through the nut bag into a bowl and squeeze all of the liquid out with your hands! I love the nylon ones I purchased from Amazon because they are super easy to hand wash and keep clean (I also use them to strain my kombucha!)

5. Store in your glass container for up to 4 days!

YES It's really that easy! Now for the almond meal:

1. Preheat your oven to 100 or 150 degrees.

2. Spread your almond pulp onto a baking sheet and break up all of the clumps with your fingers. The more liquid you squeeze out the easier this will be.

3. Bake for 1-1.5 hours until the almond meal is dry, checking on it every 15-20 min to make sure it's drying out evenly. 

4. If your blender hasn't ground it fine enough, you can put it back through the food processor, blender or even a coffee grinder to make it finer!


One of the cool things about making your own almond milk is that you can flavor it however you want! I cannot wait to add turmeric, cinnamon, and more to my almond milk in the fall to make yummy drinks (Thanks for the suggestion Detroit Wifestyles!) 

Have you ever made your own nut milk? What kinds of combinations do you do? Leave a comment below and let me know!

As always, have a beautiful day!

-Andrea

Disclosure: Amazon links are Amazon Affiliate links meaning that I make a commission off the purchase of the product through my link. I would never recommend a product that I didn't love and all opinions are my own. I am thankful for you choosing to purchase through my links, as it helps me create more content for Andrea Fontana Beauty.

June Favorites (Beauty)

Well it's officially the beginning of a new month which means it's favorites time! I'm changing things up this month and decided to do my favorites as a video instead of a blog post! Leave me a comment below if you prefer watching instead of reading my favorites! Thank you for watching! Also make sure to comment below what your favorite products were this month! 

Here are the products and links I mentioned in order of appearance:

NYX Honey Dew Me Up Primer https://amzn.to/2zd0UE3

NYX Dewy Finish Makeup Setting Spray https://amzn.to/2NwZFD4

Stila Magnificent Metals Glitter & Glow Liquid Eye Shadow https://amzn.to/2tVa6rW

Jordan Samuel Skin etOILe with Retinol Treatment Oil https://jordansamuelskin.com/products...

Coola Suncare Organic Sunless Tanning Anti-Aging Face Serum https://amzn.to/2lUofAY

Pacifica Rose Flower Hydromist with Kombucha https://amzn.to/2KzCZ7k

Acure Argan Oil & Pumpkin Shampoo and Conditioner https://amzn.to/2tUKdbM

Burt's Bees Milk and Honey Body Lotion https://amzn.to/2MTD56v

 FTC: All products were purchased with my own money. All opinions are my own.

Disclosure: Amazon links are Amazon Affiliate links meaning that I make a commission off the purchase of the product through my link. I would never recommend a product that I didn't love and all opinions are my own. I am thankful for you choosing to purchase through my links, as it helps me create more content for Andrea Fontana Beauty. This does not affect the price that you pay.

Have a wonderful start to July,

Andrea

Changing things up this month and decided to do my favorites as a video instead of a blog post! Leave me a comment below if you prefer watching instead of reading my favorites! Thank you for watching! Also make sure to comment below what your favorite products were this month!

8 Easy Healthy Food Swaps

This post was born out of the idea that I don't believe in dieting long term to stay healthy. It's just not realistic. However, we can make healthier choices daily in order to create a healthier lifestyle for ourselves. Today I'm sharing some of my favorite foods that you can substitute for those that are not as good for you. Regardless of what you decide to swap on a regular basis, remember that it's important to treat yourself every once in awhile; just don't make it a continuous habit. 

1. COCONUT SUGAR FOR BROWN/GRANULATED SUGAR: This is one of my favorites to do, especially in oatmeal and sweet treats. Coconut sugar comes from coconut palm sap and has a lower glycemic index than the others. This means it won't spike your blood sugar as much and is digested slower. Also it contains minerals like zinc, iron, calcium, potassium and more, which isn't the same for table sugar which is simply empty calories. 

2. COCONUT AMINOS FOR SOY SAUCE: If you love soy sauce this one might be a little harder to transition to but it's so worth it. Coconut aminos isn't bad, it's just sweeter and different than soy in my opinion. It's obviously soy-free and also gluten-free which is great for those of you who are conscious of your soy & gluten consumption and doesn't have nearly the amount of sodium as soy sauce. Based on the name, you might have guessed that it contains essential amino acids, which soy sauce does not.

3. AVOCADO OIL FOR OLIVE/COOKING OILS: I love me some olive oil. I am Italian after all, but recently I stopped buying it and swapped it for Avocado oil and I'm obsessed. Avocado oil has tons of healthy fats including oleic acid and with it's high smoke point, you can cook at a higher heat without worrying about breaking down the structure and losing the benefits. I don't notice much of a change in taste either, so I highly recommend this swap.

4. PLAIN GREEK YOGURT FOR SOUR CREAM: I have been doing this one for a long time, but I'm always amazed how many people don't know what an easy swap this is. Make sure you don't make the mistake of buying vanilla, it HAS to be plain. But I honestly barely taste the difference, I get that creaminess that I like from sour cream, and I get a little added protein in whatever I'm doing! I love adding it to the top of a taco salad instead of dressing!

5. LEMON JUICE/OREGANO/AVOCADO OIL FOR SALAD DRESSING: I basically don't buy salad dressing, because I love the simplicity of oil and lemon juice or vinegar. Making a little vinaigrette with oregano, salt and pepper too, makes for an easy summer salad that is light and refreshing! If you can't tell, I don't like heavy dinners in the summer. 

6. ORGANIC BROWN RICE CAKES FOR TOAST: I fell in love with these in my elimination diet because I was able to eat brown rice still and loved that rice cakes gave me the crunch I was looking for without the gluten. Now I still eat them all the time with avocado in place of my old avocado toast! 

7. AVOCADO OR HUMMUS FOR MAYO: This one is another classic, but I love mashed avocado or hummus (or both!) on a sandwich in place of mayo. You still get the creaminess, but a much healthier fat option!

8. FRUIT COMPOTE (HEATED FRUIT & COCONUT SUGAR) FOR SYRUP ON PANCAKES: Now this one is something I made up when I was in my dutch baby obsession because I wanted a healthy alternative to store bought syrup. Maple syrup is obviously a healthier option too, but if you like fruit, I highly recommend this one. Simply use frozen or fresh berries on medium heat in a pan, and sprinkle some coconut sugar on top (a few tablespoons depending on how many berries you have and how sweet they are). The sugar will help to break down the fruit and bring the juices out and if you let it bubble and thicken on a lower heat for a little bit, you'll get a beautiful and delicious fruit compote, perfect to top pancakes, waffles, dutch babies, ice cream, etc!! Depending on the fruit you choose, this can be a great way to get extra fiber, antioxidants and minerals (see coconut sugar above) into your daily diet!

Let me know what you think of these easy food swaps and be sure to comment below what your favorites are!

Have a great weekend,

Andrea


My Elimination Diet Experience

If you follow me on Instagram you might have seen that during April and May I underwent an elimination diet to figure out which foods were bothering me. A lot of you were interested in the process and results so I figured I would share a little bit about my history that led me to do this type of diet, what it was like, and what I discovered about my digestive health. 

*Disclaimer: Always check with your doctor before starting an elimination diet or any type of diet. I am not a nutritionist and this post is meant only to share my experience with you guys! 

Background:
First let's talk about my history. A little over 10 years ago, while visiting my family in Brazil, I ended up with a twisted intestine. They were able to fix it there but when I came back to the U.S. I ended up having more pains. They did every test under the sun but weren't able to diagnose anything else. Since my twisted intestine, I have had a love hate relationship with my digestive system. Many foods continued to make me sick and surprise, surprise, more tests came and no answers were discovered. I finally decided to play with my diet and take out the foods that made me sick. 

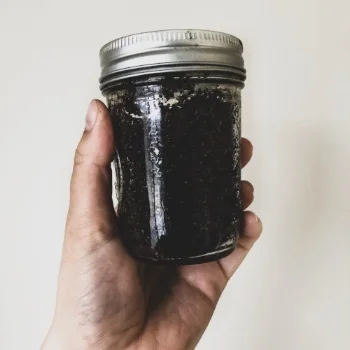
For the past 10 years, I've been vegetarian 80% of the time because meat has just never settled well for me. I would go through phases of eating no meat and then slowly phasing it back in, but my symptoms always came back. I wake up with symptoms at 3 am more than I'd like to admit and spend 60% of the time probably feeling bloated and looking 3 months pregnant. There's plenty more symptoms but in case you're reading this on your lunch break, I'll spare you the details. I have medicine that I was given to help my intestines not spasm so much, but the thought of living my life taking pills in order to eat certain foods just didn't feel like the life I wanted to live. After talking to my doctor a earlier this year we decided I needed to try more probiotics (I started making my own kombucha which I LOVE) and changing my diet up.

My Elimination Diet:
In the beginning of April, a friend texted me and asked if I wanted to do an elimination diet with her and be accountability partners. I had always told myself that I should try one, like the Whole 30, etc, but had never just bit the bullet and done it. The one we did was based off the book 'The Elimination Diet: Discover the Foods that are Making You Sick and Tired --and Feel Better Fast' by Tom Malterre & Alissa Segersten, which is a little bit different than the Whole 30. If you're interested I highly recommend buying the book and going off of that and checking with your doctor first. 

Elimination Phase:
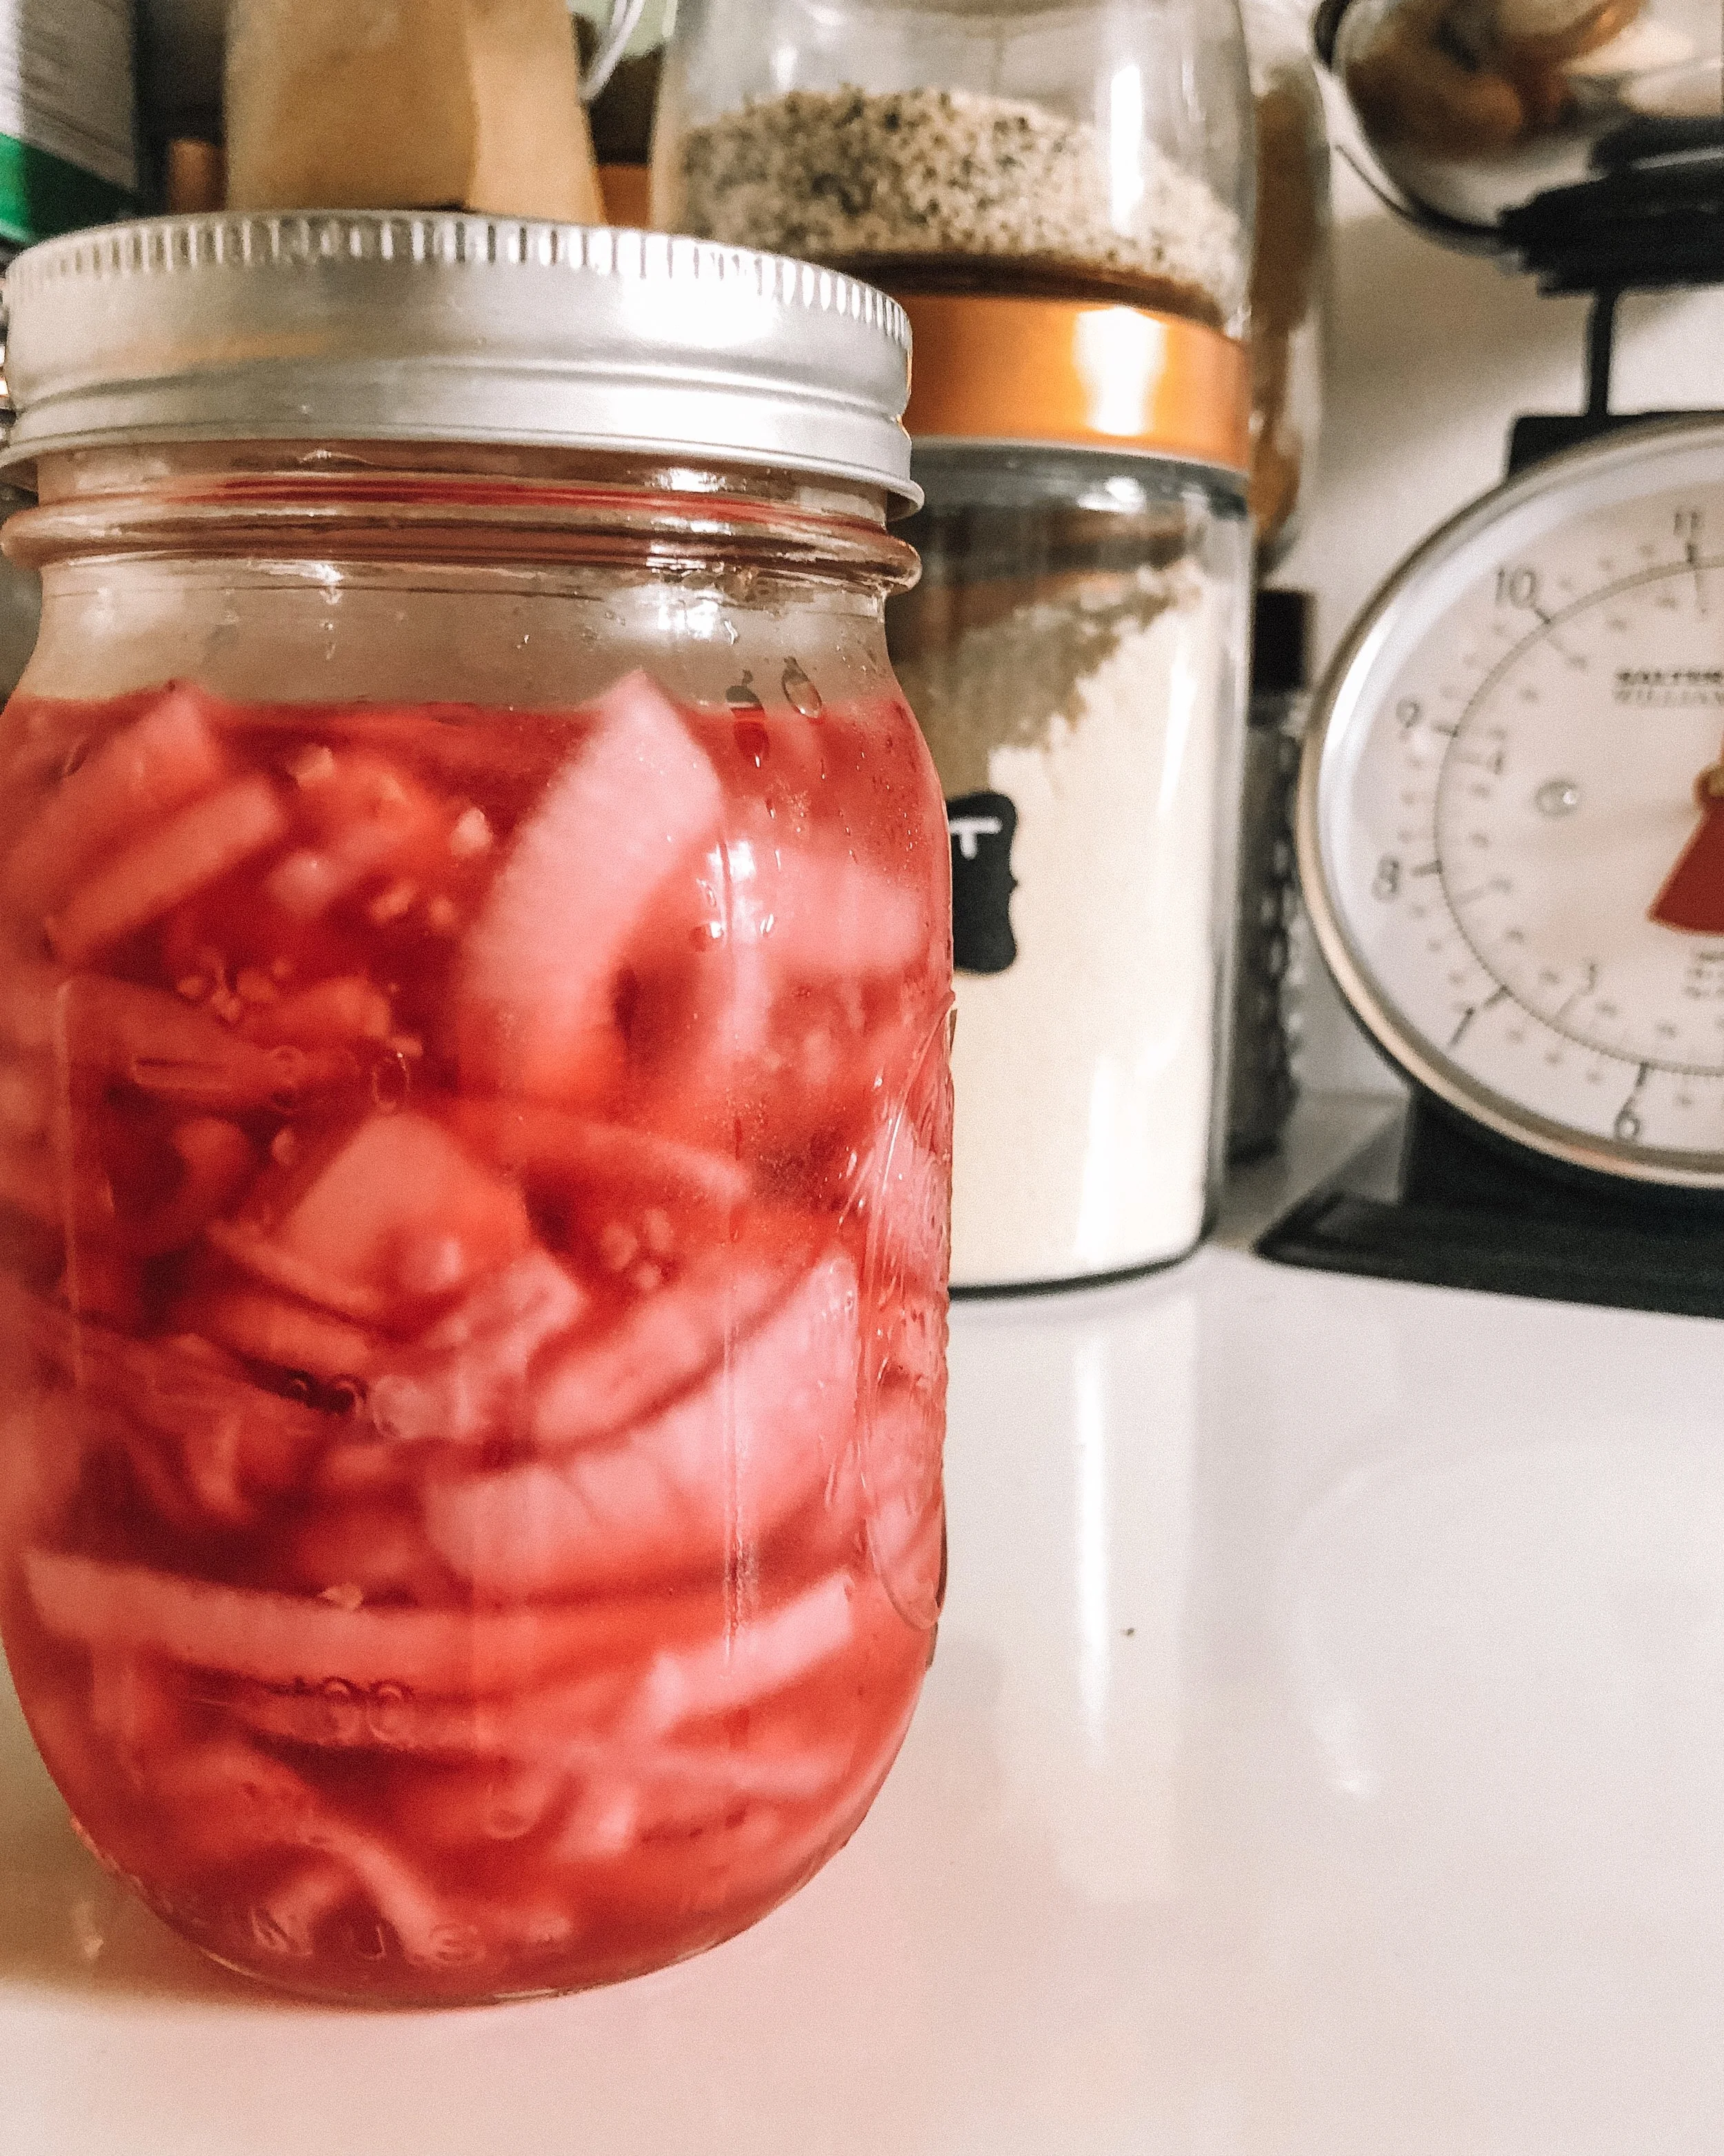
For the first 3 weeks I eliminated the following; beef, pork, citrus, nightshades (tomatoes, potatoes, peppers, etc.), soy, corn, gluten, added sugar, nuts, alcohol, chocolate, & dairy. Basically when people would ask what I couldn't have it was easier to tell them what I could eat because that list was shorter! haha I also eliminated caffeine because I knew it has an effect on my digestive system and I didn't want it to skew the results. I used to drink one cup of coffee every morning and a few afternoons a week, so this was a difficult change for me. 

The first three weeks were tough. I craved foods I didn't even really like that much and had never craved before. I had terrible headaches for the first 4 days because of the caffeine withdrawals. The good news though, is that I never felt hungry. I was eating so many fruits and vegetables and foods that were nutritionally dense, but not calorie dense, so I felt great! It was crazy to see how quickly I felt like my stomach shrank in half and I was full quicker. The three weeks honestly went quicker than I expected once I got used to the foods I could and couldn't have. I was basically eating extremely clean and unprocessed and it felt great! I had energy after my meals instead of feeling comatose and ALL of my symptoms went away. I had the best skin I've had in years, with no breakouts and I felt like I was glowing. The only drinks I was having was 2 cups of chamomile tea a day (in replacement of coffee) and SO much water. I'm usually great with water intake but this was even better! 

The one thing that was hard for me at first was that I felt like I lost my love for food for a few weeks. If you've been following my blog or IG you know that I LOVE to cook. Food is my passion and I cook most of my meals almost every day. I found myself feeling like I was just eating for sustenance and not for enjoyment which was hard when you love creating meals. Eventually I got over this feeling though, when I started looking at cooking in a different way. I started challenging myself to create my favorite meals using substitutes and cooking became fun again!

The Reintroduction Phase: 
After the three weeks are up, you start adding one type of food in for 3 days to see what your body's response is. If you pass and have no symptoms, you get to keep it in your diet and move onto the next food. If you don't pass it, you have to wait for your body to clear the upsetting food and remove it again but continue on. The book is great at outlining the order and way that you should introduce the foods so again I highly recommend checking it out so you can do the process properly. 

The Results & Where I'm at Now:
So what did I discover? Beef and pork are in fact triggers for me. When I did three days of each back to back, I was so lethargic and exhausted that I knew it was a sign that my body didn't like them. Going into this I had a feeling it wasn't just these two however, so I wasn't surprised to see that I didn't have my normal symptoms from them. I knew there had to be something else.

Enter in testing gluten. When the time came to test, I had something with gluten for dinner and the next morning all of my symptoms were back. The same thing kept happening over the course of more gluten meals. The interesting part I found was that I broke out terribly on the third day and it just kept happening with more gluten. 

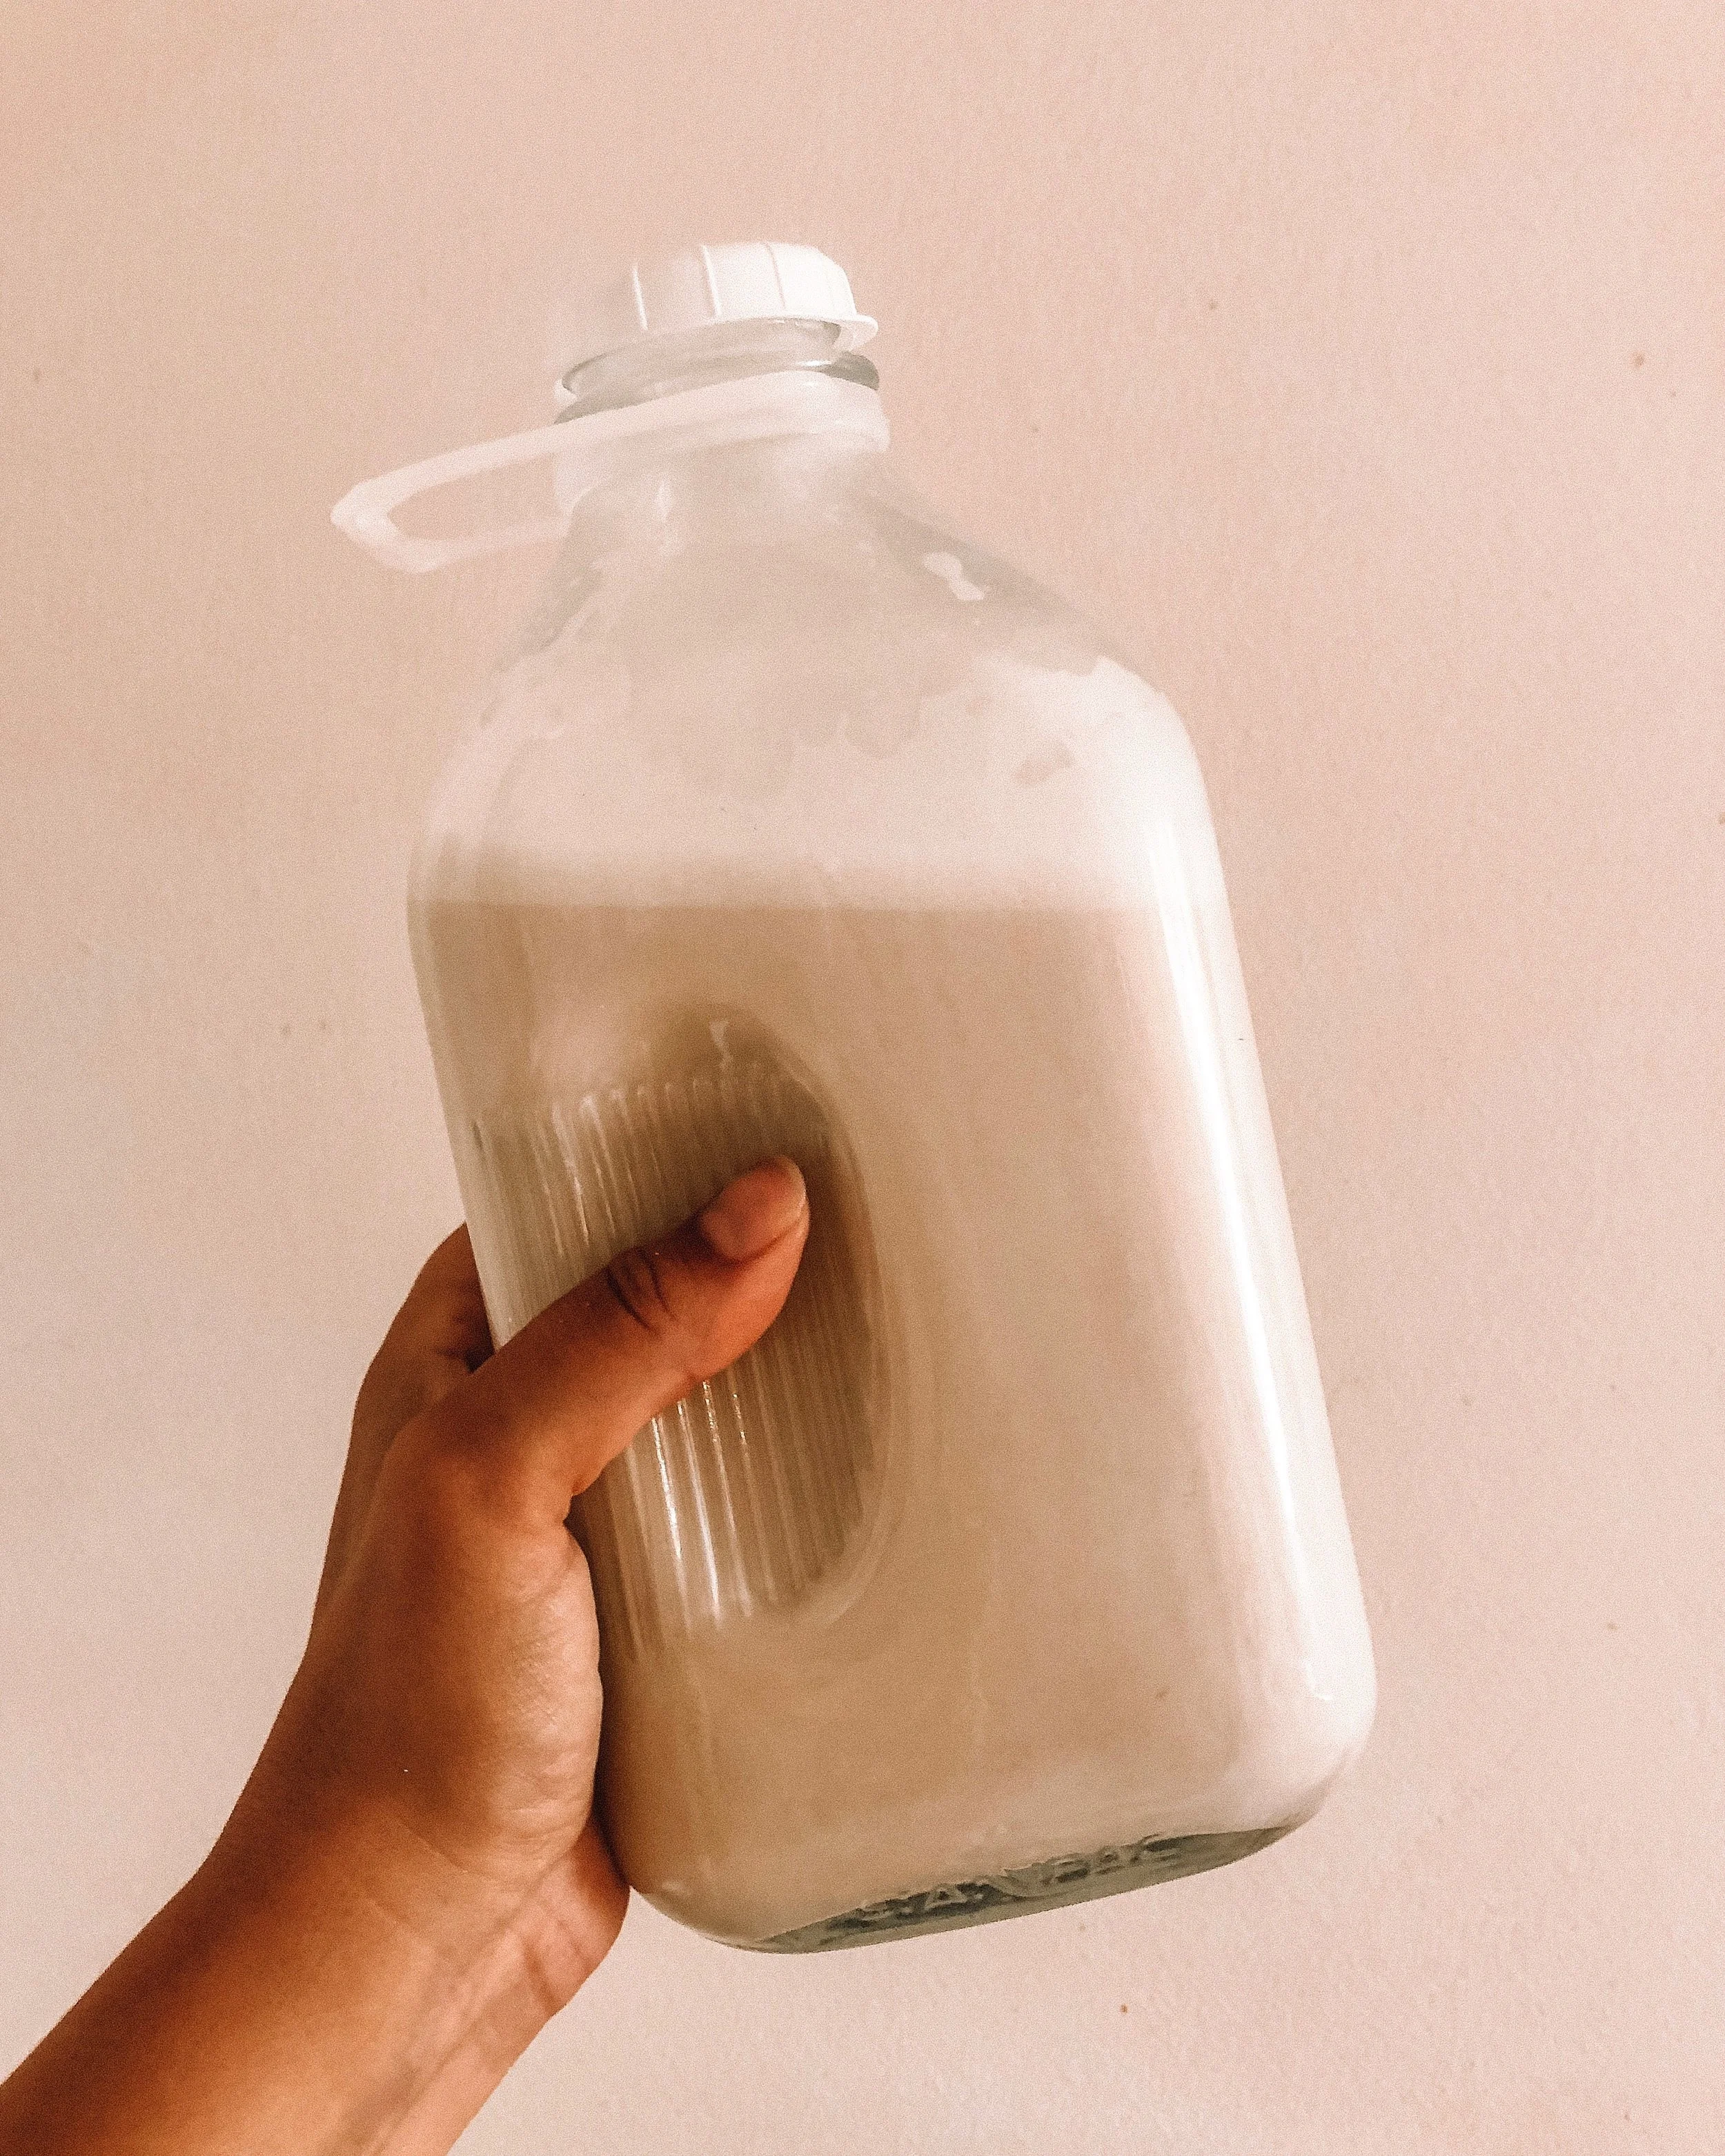
So where am I at now? I eat a gluten free diet with no beef or pork. Even though I didn't end up with symptoms when testing dairy, I still try to eat a very minimal amount (I am so thankful I can still have my ice cream cones this summer), because I have noticed in the past how it can affect my skin. I still haven't gone back to caffeine on a regular basis and I honestly don't know if I'll go back anytime soon. I have only had 2 cups of coffee since I started 2 months ago and will drink an occasional green tea if I feel like I need it. I'm sleeping better and even lost 14 pounds during the process which wasn't intentional but I was happy about! My anxiety was also much lower during this process which I found really interesting. 

The thing I am most proud of however is that I was able to practice self control and accomplish something so difficult! I promise you it’s worth it in the end to so! You will feel great about yourself!  

My Recommendations:
I highly recommend that you do more research and talk to your doctor if this sounds any bit intriguing to you. I think everyone should try this diet at least once because it's very eye opening. I felt like I was finally living without the fog when I was eating clean and unprocessed. Sometimes you don't realize how negatively something can be impacting you until you remove it. Here are some things to remember if you want to try this out:

-Do this process with a friend. It was SO helpful to have someone I could text all the time and ask questions to, give feedback to, and just talk about how I was doing. It was interesting to see the similarities and differences between our symptoms. It also happened to work out that on days when I was feeling really low she was doing well and was able to pick me up, and vice versa. Support is EVERYTHING in these types of situations.

-Don't try this when you have many special events going on. The less temptations you have the easier it will be to stick to the diet and not stray. It's not fun to go to a wedding and not be able to eat the food, so plan accordingly.

-Meal plan and prep every week. This was huge for me and I really think it's the bulk of why I succeeded. I never questioned what I was going to eat next and always had many options available that I was excited about. The book contains many great recipes for all of the different phases so it was nice having some options and ideas. 

-Give your friends and family the heads up that you are doing this. If you let everyone close in your life know that you are doing this diet, they will be less likely to invite you out and tempt you into situations where you make bad food decisions.

-Plan on not eating out for awhile. The only times I found it difficult to find something to eat were when I had to eat out (i.e. I went out of town). Bring plenty of snacks wherever you go so that if this happens, you at least have some back up foods. 

I hope this over view of my Elimination Diet experience was helpful for you! Please feel free to comment below or email me with any questions you have. I love talking about it because it was such a positive experience for me. 

Have a beautiful day and don't forget to take your health seriously! We only get one shot!

Andrea


May Must Haves

So May was absolutely nuts. Forgive me as I acknowledge the fact that I was not very good at blogging during it. I think I worked every day but two, which included 5 weddings, many trials, and lots of other fun makeup things. I also celebrated my 28th birthday which is nuts but was absolutely amazing! Thank you for the support and kindness you all share with my throughout the year, but especially on my birthday. 

Today I'm sharing my favorites for May because I actually tried a lot of new things and have been loving them so many of them.

First off I recently decided to switch to a natural toothpaste, which I had put off for so long because I had heard so many terrible things about how bad they tasted. But I was visiting a friend who lives near Trader Joe's and decided to give theirs a shot. The All Natural Anticavity Peppermint Toothpaste with Baking Soda and Flouride  (I've linked a 2 pack on Amazon for those of you who can't get to a Trader Joe's easily) is honestly not as bad as I was expecting. Yes you can tell it's a natural toothpaste because it doesn't have that sweet, strong flavor of the bad stuff but I'm totally used to it now and it doesn't bother me. I feel like my teeth are just as clean as before. The only thing that I don't get from it is that super minty fresh feeling that you get from the bad stuff, but honestly I think that's fine since it's better for me. 

Next up we have probably my favorite find of the month that is courtesy of my amazing friend Suzie who gave me this product for my birthday! I've talked about this before on here, but I do not let the sun damage my face in the summer. I always have SPF 55 on it, hats, sunglasses, towels, haha whatever I can find to protect myself. This obviously means that I end up with a face that is pretty pale compared to my body; that usually gets some color despite my constant SPF because it's just exposed more. Insert the Coola Suncare Organic Sunless Tan Anti-Aging Face Serum. I put one pump on every night after my skincare routine and wake up sunkissed every morning. It's not super dark (although I'm guessing that's because I only use a little, if I try to apply more and get darker I'll let you know). The fact that it's a beautiful olive and natural looking fake tan is just the beginning. It's also an anti-aging serum loaded with Argan Oil, Vitamin C, Hyaluronic Acid, & plant stem cells to leave you feeling hydrated and glowing! It also smells delicious and you can add it to your moisturizer if you want. When Suzie gave it to me she said it's favorites worthy and she was right! 

I have done videos before showing how I love to mix a liquid highlighter in with my foundation to give me a dewier skin look and have always used the Becca Shimmering Skin Perfecter before to achieve this. However, it's quite expensive and I wasn't sure if I wanted to commit to a whole other bottle. When I was shopping with friends in Ulta in April, we discovered the Maybelline Master Strobing Liquid Illuminating Highlighter in Light/Iridescent and I thought it looked pretty close to the Becca shade in Opal. Fast forward to purchasing and trying it out and it's a pretty close dupe.  If you compare them side by side the Becca one looks a little more finely milled, but once mixed in with foundation and applied to the face I cannot tell a difference. I am so happy I found an amazing dupe that is less than a quarter of the price! They do have other shades as well if you don't want the blush rosey color that is like Opal. 

I received the gorgeous Tarte Aspyn Ovard Eye & Cheek Palette for my birthday from another amazing friend (I know I'm the luckiest girl to have all of these sweet and amazing friends) and luckily with all of my weddings and makeup I've been doing I've had plenty of time to test it out. I love the whole thing, my only critique is that the really glitterly/shimmery shades are a little tricky to apply. I tried using a wet brush with MAC Fix + on it to apply them and that helps, but can also be tricky in a chunky way if that makes sense. The mattes are so beautiful and smooth and easy to use, the blush is an amazing shade for summer, and the highlighter is also beautiful. Overall I love it the shades and think it'll be a great palette to take with me when I want to travel. 

I have saved the best for last! If you have been reading my posts recently, you've noticed that I love Glossier. I have been trying more and more out from them and when they came out with a Mascara I KNEW I had to try it. Lash Slick is if not the best, one of the best mascaras I have EVER tried. I know that is a bold statement but I love it. I saw it described somewhere as giving you lash extension like lashes and I think that is such a great description. It doesn't look like clumpy, thick fake mascara lashes, it really looks soft and natural which I love. The wand is awesome and separates your lashes so well too. If you want a bolder look you could always layer a second and thicker mascara over it which is usually what I do if want a bolder look for night time. The best part for me though is that it truly lasts all day on my lashes. No smudging, no flaking, no changes; it still looks great at the end of the day. Here is my link for you to get 10% off your first purchase from Glossier. I highly recommend checking Lash Slick out if you haven't yet! 

What were your favorites in the month of May? Comment below and let me know! I love hearing about the new things you try!

Have a beautiful week,

Andrea

April Obsessions

I cannot believe we are already at the end of another month. I feel like I was sharing my March Must Haves with you last week, but here we are! April was an interesting month for me. It was jam packed as I'm gearing up for bridal season and doing trials and prep for all of the weddings I have booked this year. Regardless, I managed to try more products this month than normal, so I'm here to share the things I was obsessing over this month.

Weleda Skin Food is a moisturizer that I've known about for years but never remembered to pick up. It has seriously been on my wish list for 2 years but I always manage to get something else instead. It wasn't until I started doing my skincare cleanout that I realized that it was a 0 (aka really clean) and I saw one of my favorite makeup artists to follow on Instagram (@katiejanehughes) use it in a live makeup tutorial underneath her makeup for glow. Once these both happened, I knew I finally needed it and I am kind of pissed at myself for living this long without it. First off, the smell is amazing and citrus-y and clean smelling. It is a very thick cream designed for really dry and even chapped areas. At night I like to add it just in the areas where I have dryness or fine lines. If I use it like Katie Jane does, I put it on my cheekbones under foundation to give me more glow and it works so well. Check out my latest YouTube video here when I show you how I use it before applying my makeup.

Thriftbooks.com has become my newest obsession! One of my favorite things to do is visit a used bookstore and peruse the shelves to see what they hold. One day I discovered Thriftbooks.com and it's like going to a used bookstore and finding exactly the book you wanted. I cannot believe how many different books they have. You can choose different levels of wear for different prices. I've gotten some great $20+ books for under $4. It's insane! I love to buy my cookbooks here because they are so much cheaper. Plus I feel good about buying used instead of new. My favorite thing is the wish list option because anytime I see a book I want, I add it too my wish list so I don't forget. If it's not in stock, I get emails letting me know when it is which is awesome! If you use this code here you can get 15% off your first order (P.S. I do not make any money off of these links)! 

I bought a Loreal Voluminous Lash Paradise mascara a few months ago because I had been hearing such great things about it but it never quite made it into my makeup bag to use until the last few weeks. I have to say I was surprised how much I like this one. It's supposed to be the dupe for Too Faced's Better Than Sex Mascara which I do not like, so I didn't have high hopes for Lash Paradise. I have to say I love it as much as the original Loreal Voluminous Carbon Black. The brush is nice and gives both length and volume similar to Voluminous. I'm happy to say it's not flaky like I find the Better Than Sex mascara to be. 

I know I've only had the Fenty Beauty Matchstix Matte Skinstick in Amber for 10 days, BUT I'M OBSESSED. If you missed me freaking out over it in my most recent YouTube video, click here to watch it. This cream contour stick is so blendable, but not only is it easy to use, it is the perfect shade for contouring. It creates the best shadow on the face and I love using it. I can tell you this is a product I will be using so much in the summer for a dewy, bronzed glow. I cannot wait. 

I am a member of Grove Collaborative and am obsessed with it. It's a company that specializes in more natural products for cleaning, body care, skincare, and more for your home! I like it because if I don't need anything that month I can delay my shipment as long as I need. Last month they gave me a free lip balm in my order and I am obsessed with it! It's not too greasy, but moisturizes my lips super well. I love the oval shape to it, because I can apply to both my top and bottom lips at the same time. The best part is that it is super clean! No toxic ingredients and has a minty refreshing scent. I love it! Click here for the Mint & Argan Lip Balm.  If you want to sign up for Grove, use this link to get a free 5-piece gift set! 

So there we have my favorites for April! Short but sweet. I can guarantee I will have many more favorites in May because I am testing out some awesome products right now. Leave a comment below and let me know what you loved this month!

Have a beautiful day,

Andrea

Make Your Own Chemical-Free Body Scrub

IMG_2812.JPG

I have a really great body scrub currently in my bathroom that I love and while reading the ingredients I realized I could very easily make a similar type of body scrub with ingredients from my pantry. This got me to thinking that I might as well make it for you guys and share with you how I made it. 

The ingredients you'll need are few and you can edit this recipe as much as you want and create your own unique scrub.

You will need:
- Coffee grounds (I used organic french vanilla from TJ's because I love how they smell)
- Coconut oil (Again I used organic unrefined so it still has the coconut smell)
- Brown sugar (you could use granulated white sugar but I like how soft brown sugar is)
- Essential Oils (I used peppermint to make my scrub SMELL LIKE A THIN MINT!)
- Some sort of container (I used a mason jar with a screw top lid)

Now the exact amounts you use will be completely dependent on how big your container is and the consistency that you like. I personally like my scrubs to be wet but really crumbly so that I get a good exfoliation (REMEMBER use these scrubs on wet skin only and NEVER on your face). 

FullSizeRender.jpg

In my jar I mixed 5 tablespoons of coffee grounds with 5 tablespoons of brown sugar. I mashed them together to make sure that they were evenly mixed and then added 1 tablespoon of melted coconut oil. Next, I added about 10 drops of peppermint essential oil and when I smelled it I WAS IN HEAVEN. Thin mint in ajar. I cannot wait to smear this all over my body tomorrow when I shower.

If you are looking for a chemical free body scrub, this is a great way to make your own! The coffee is stimulating due to the caffeine and will help with circulation. The brown sugar will exfoliate all of your dead winter skin cells off, and the coconut oil is great for moisturizing your skin!

If you make a scrub and use different oils or measurements be sure to leave a comment below and let me know what concoctions you create!! I honestly don't think I'll ever buy body scrubs again!

FullSizeRender.jpg

Have a beautiful night,

Andrea

Skincare Tips for the Active Woman

As I was going about my shower routine the other day after hitting the gym, I realized that there are very specific things I do either before, during or after my workouts for the sake of keeping my skin clear and healthy. I figured I'd share them all with you as a quick reminder of how to keep things clean when you're an active woman. There are tips for for both face and body. Enjoy!

1. Wash your face immediately after your workout. If you sweat at all during a workout you should wash your face as soon as you are done, even if you don't have makeup on. I keep a pack of cleansing wipes in my gym bag (these are a great option) to wipe my face down quickly when I'm done because I personally never workout with makeup on. If you do wear makeup, I would definitely suggest cleansing your face with an actual cleanser afterwards. It's really important to not let the sweat sit on the surface of your skin for too long after you're done. 

2. Wash your body with a Charcoal body soap. I love to use a charcoal body soap to cleanse after the gym to lessen the likelihood of back or chest breakouts. Sometimes I can't take a shower right after the gym because I have other things to do, and doing this allows me to still get a deep clean and prevent any breakouts. This one by "Yes To" is a great option. 

3. Change your towel every day. If you shower at your gym after your workout, make sure you swap out for a clean towel every single day. More than likely, your towel gets put in a gym bag and doesn't get proper ventilation to dry quickly. If this is the case, it's really easy for bacteria to harbor and grow. I recommend tossing it in the hamper and getting a new one every time so that you avoid touching your face or body with it. I know that may seem excessive, but if you are prone to acne it's little changes like this that limit your exposure to acne causing bacteria which can lessen the likelihoods of breakouts. 

4. Stop touching your face. I know this seems obvious but think about how many things you touch that carry germs when you're at the gym. Touching your face only spreads the bacteria and it's always good to have another reminder not to touch your face. I do it without even realizing it sometimes so don't worry, I need this one too. Try bringing a fresh towel to the gym every time you go to wipe the sweat, instead of using your hands!

5. Use headbands. Headbands are a great way to keep sweaty hair off your face during a workout so definitely get some if you have bangs or baby hairs. I prefer to get ones that are able to be washed with my clothes so that I can clean them easily.

Let me know what your clean skin tips are for the gym but leaving a comment below!

Have a beautiful day,

Andrea 

How to make the only Kale Chips I'll ever eat.

Snapseed.jpg

It's no secret that kale is an extremely nutrient dense food that we should be consuming. Did you know that it can help tremendously with your skin? Full of Vitamin K, kale helps strengthen blood vessels, boost circulation and protect your liver. Since it's anti-inflammatory, it helps reduce puffiness and redness in the face and is great for conditions like rosacea. It's also rich in lutein and zeaxanthin (cartenoids that absorb UV light) which help protect us from free radical damage. Loaded with other vitamins and minerals, kale also has Omega-3 fatty acids and helps your skin stay nourished. Overall eating more kale will help with cell turnover, reducing dryness, and restore radiance to your skin. (Source: Eat Beautiful by Wendy Rowe, 2016)

If you want all of the above but don't know how to incorporate more kale into your diet, look no further! This is my sister's "recipe". The reason I say that in quotations is because I asked her how she made them and all I got was "250 until crisper". So let's just say I made it up from there. 

I have never liked kale chips. I have bought them from the store I don't even know how many times, and each time they taste like what I would imagine dirty leaves to taste like. They have no flavor and the texture is weird. Then last week my sister was talking about making kale chips and my nieces got so excited because they love when she makes them. I was shocked because I like healthy food and eating my greens but couldn't imagine trying kale chips one more time. 

After texting my sister and getting the 250 degrees response, I decided it was time to attempt making them. 

You will need:

A couple stalks of Kale
1 TB Coconut Oil
Salt & Pepper
Garlic Powder or whatever you want to season with

You will need to do the following:

1. Preheat the oven to 250.
2. Rip Kale leaves off of the stems and tear into smaller pieces. Wash in a salad spinner and dry really well; add to a big bowl.
3. Melt the coconut in the microwave for 30 seconds and pour over kale and massage into kale to make sure it's distributed evenly. 
4. Season with S&P to taste and garlic powder (or your choice of seasoning) and mix with hands to make sure it's incorporated well.
5. Spread out on 1 or 2 baking sheets to make sure most of kale isn't touching and has plenty of space. This allows it to properly dry out.
6. Bake 20-30 min until it's your preferred texture checking frequently to make sure you don't burn them. 
7. Try not to eat them all at once.

Note: I baked mine for 20 min and I found that this was absolutely perfect. I think the reason I've never liked kale chips before is because they are so dried out. 20 min was the perfect amount to dry the kale out so it was crunchy, but still have a little bite to them. If you prefer a super crispy and dried out kale chip, try 30 min instead.

If you make these let me know what you think and how you season yours!

Enjoy,

Andrea